
If you find yourself without hot water, one common reason could be that the pilot light on your gas water heater has gone out. While this might seem like a significant problem, relighting the pilot light is typically a simple process. In this guide, we'll walk you through the steps to safely and effectively relight your gas water heater.
Step 1: Understand the Cause
Before you start, it’s important to understand why the pilot light might have gone out in the first place. Common reasons include:
- High Attic Temperatures: If your water heater is located in the attic, extreme heat can snuff out the pilot light due to a lack of oxygen.
- Drafts or Gusts of Wind: Sudden drafts, especially in areas like garages or attics, can extinguish the flame.
- Faulty Thermocouple: This safety device is designed to shut off the gas if it doesn’t detect the pilot light's heat. If it's malfunctioning, the pilot light won’t stay lit.
Identifying the cause can help prevent the issue from recurring.
Step 2: Gather Your Tools
Before beginning, make sure you have the following:
- A flashlight to help you see inside the water heater's components.
Step 3: Turn Off the Gas
Safety comes first. Locate the gas control valve on your water heater and turn it to the “OFF” position. This will stop the flow of gas and reduce any risk of an accident. Wait for at least 5-10 minutes to allow any residual gas to dissipate.
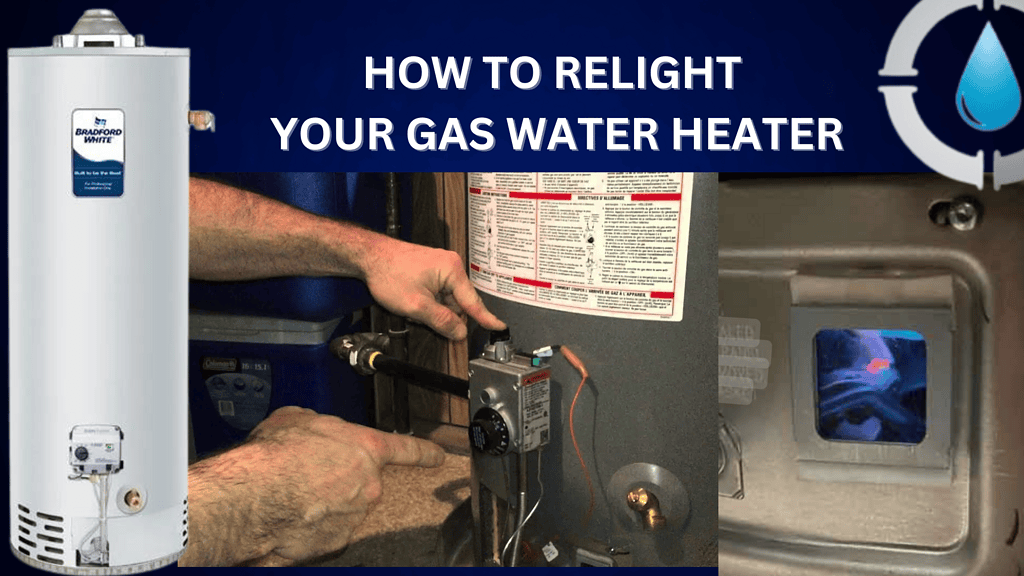
Step 4: Access the Pilot Light
Modern water heaters are typically sealed for safety and efficiency, so you don’t need to open any panels. Instead, you can view the pilot light through a small viewing window located near the bottom of the water heater. Use your flashlight to locate the pilot light assembly through this window. The assembly usually includes a small burner and a thermocouple.
Step 5: Light the Pilot
- Turn the Gas Control Valve to “Pilot”: Once you're sure all gas has dissipated, turn the control valve to the “Pilot” setting.
- Hold Down the Pilot Button: Press and hold the pilot button to allow gas to flow to the pilot light.
- Ignite the Pilot Light: Most modern water heaters are equipped with an automatic igniter. While holding down the pilot button, press the ignition button (if your unit has one) to light the pilot. Continue holding the pilot button for 30-60 seconds after the flame is lit. This ensures that the thermocouple heats up properly and the pilot light remains on.
- Release the Pilot Button: After holding the button for the required time, slowly release it. If the pilot light stays lit, you’re ready to move on. If it goes out, repeat the process. If it still doesn’t stay lit, you may need to consult a professional, as the thermocouple might be faulty.
Step 6: Turn the Gas Back On
Once the pilot light is successfully lit, turn the gas control valve to the “ON” position. You should hear the burner ignite, and your water heater will begin heating the water again.
Step 7: Monitor the Pilot Light
After relighting, it’s a good idea to monitor the pilot light over the next few days to ensure it stays lit. If it continues to go out, it could indicate a more significant issue that requires professional attention.
When to Call a Professional
If you’ve followed all the steps and the pilot light still won’t stay lit, or if you notice any unusual sounds or smells, it's time to contact GPS Plumbing. It could indicate a faulty thermocouple or another issue that needs expert attention.
Preventive Tips
- Regular Maintenance: Regular maintenance can help prevent pilot light issues. Ensure the area around your water heater is clean and free of dust and debris, which can affect the flame.
- Check for Drafts: If your water heater is in an area prone to drafts, consider adding insulation or other barriers to protect the pilot light from sudden gusts of air.
By understanding how to safely relight the pilot light and when to seek professional help, you can ensure your water heater continues to function smoothly, providing your home with the hot water it needs. For more information on troubleshooting and maintaining the pilot light on a Bradford White standard tank water heater, check out this guide from Bradford White. Learn how extreme attic heat can extinguish your water heater's pilot light and discover effective solutions to keep it running smoothly.
For further assistance or if you encounter any issues, don’t hesitate to contact GPS Plumbing.